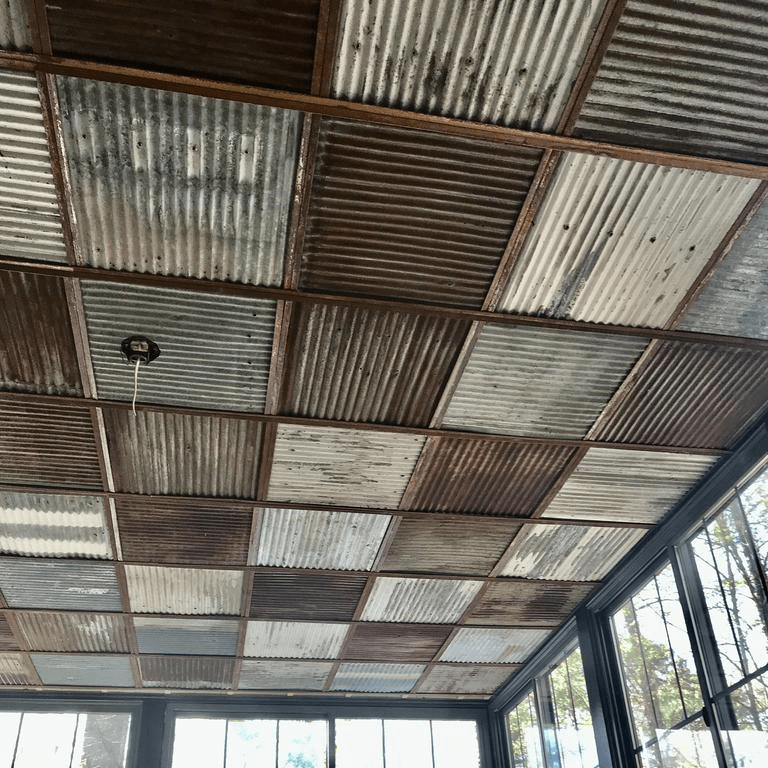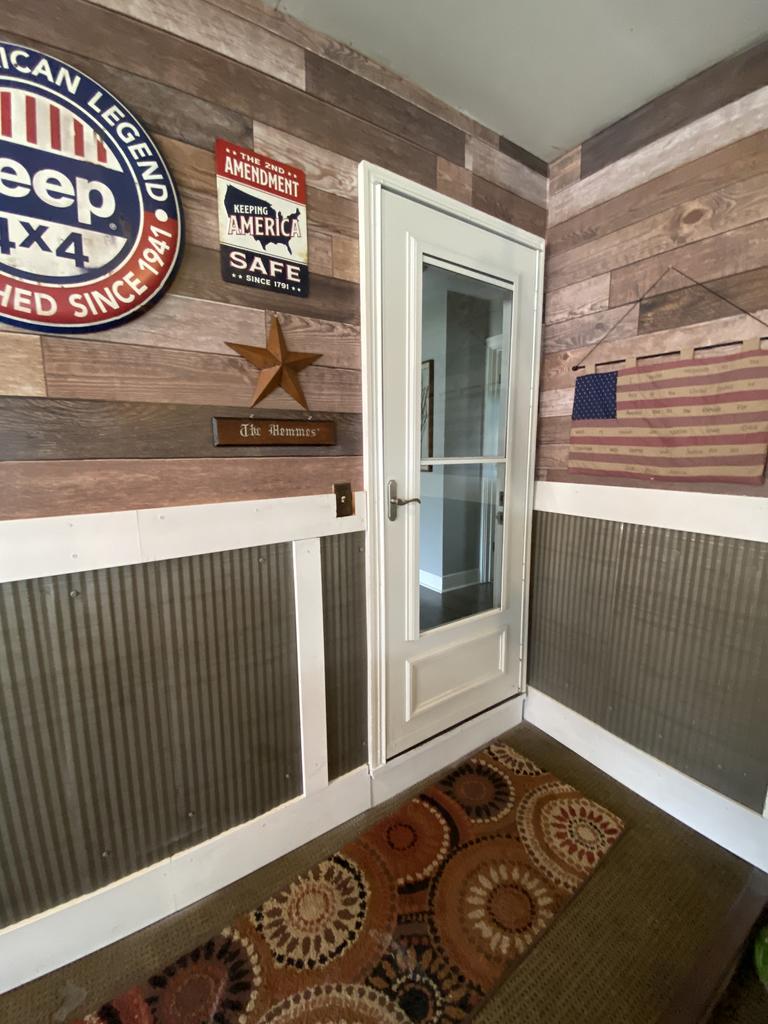
How do you install wainscoting panels? Dakota Tin's wainscoting panels have been used for various DIY projects and we’re here to show you just how easy it can be.
Below you will find a few informational guides and videos to help you with wainscoting installation.
Tools and Safety Equipment
First, let's start with some tools. Safety is definitely a priority, so be sure to double-check all your equipment. Here’s a general list to get started:
- Cut-resistant gloves, safety glasses and hearing protection
- Straight-edged tin snips (for cutting any J-tracks you may use)
- Circular Saw with a Plywood blade (7 ¼” by 150 tooth non-carbide blade, installed in reverse is recommended)
- A screw gun or drill
- A level
- A chalk line for straight edges.
- Screws (roofing screws are recommended)
For more safety information, visit our wainscoting safety guide here.
General Instructions For Wainscoting Installation
Again, there are many different ways to install wainscoting. Below is a general guideline (along with a video) to get you started:
- Begin with a clean wall and flat surface, removing any potential molding and baseboards.
- J-track is a trim that can be used to give a clean edging to the panel and to help secure the panel to the wall. If using J-track, measure the area and make sure you have the correct measurements.
- Be safe and refer back to our safety guide here as needed! Always make sure to wear cut-resistant gloves. To cut the J-track to your measurement, we recommend using straight-cut, tin snips.
- It's time to begin assembly! Begin with placing base and sides J-tracks where you want them to go. You will place the top J-track after you install the panels in the next step.
- After measuring and placing the J-tracks, it’s time to position the metal wainscoting panel in the J-tracks. It is best to start with just one panel and lightly secure it first before moving to the next wainscoting panel.
- Secure the panels to the wall by using a self-drilling metal screw. We recommend roofing screws for these types of projects. Secure as desired, but we recommend placing the screws every 12"-16”.
- Align your next panel with a slight overlap to keep the ‘ribs’ in the metal consistent to achieve a seamless look. Continue to work one panel at a time, checking to make sure they are level and straight throughout the project.
- If the last panel needs certain cuts, we've included an instructional guide on that below in the Cutting Panels to Fit section.
- As mentioned in step 4, we recommend capping your project with the top J-track trim after all panels have been placed and you are satisfied with the project.
Securing wall panels to walls or creating decorative trim can also be done with products outside of J-track. We've seen customers use wood to create a variety of design edges, some of which can be seen in our customer projects gallery.
With only a few hours of work, you will have a project worth bragging about. It is a simple way to liven up any (or all) room(s). If you’re looking for stylistic wainscoting, take a look at Dakota Tin's metal wainscoting options. You will find the different styles we offer, plus you can find the necessary J-tracks to complete the project.
Cutting Wainscoting Panels to Fit
Whether doing a feature, decorative piece, or a half wall, sometimes cutting steel and tin products is unavoidable. Here are our tips and tricks for cutting the Dakota Tin Corrugated Metal Wainscoting.
- Use tin snips to cut small pieces or J-tracks. Use the larger plywood blade (listed above) to make long straight cuts in panels.
- Always wear the correct protective safety equipment.
- When using a circular saw, always cut from the back side of the panel to keep metal shavings from marring the finish. It is also a smoother cut if cut from the backside. Remember to remove these shavings before securing the metal to the walls.
- When cutting, SECURE the metal down to a cutting board by using multiple clamps. The more secure the tin is, the straighter the lines and the fewer mistakes.
- Don't use dull blades. It will cause tearing in the metal.
For more information, check out our video here!
We hope this guide is helpful for your DIY project! We would love to see what you do with our product in the reviews. Good luck!
(Note: As an Amazon Associate, we may receive commission from any purchases made with the above Amazon links.)


