Are you looking to create a durable raised metal garden bed in just a few hours? Look no further! We’ll guide you through the process of building a large and sturdy raised garden bed using Dakota Tin metal landscape edging, lumber, and screws. With the right materials and our step-by-step instructions, you'll have a beautiful garden bed ready for planting in no time.
Gather Your Materials
Embarking on your raised metal garden bed project requires some preparation, starting with collecting all the necessary materials. To ensure a smooth and efficient assembly, you’ll need to have the following items ready:
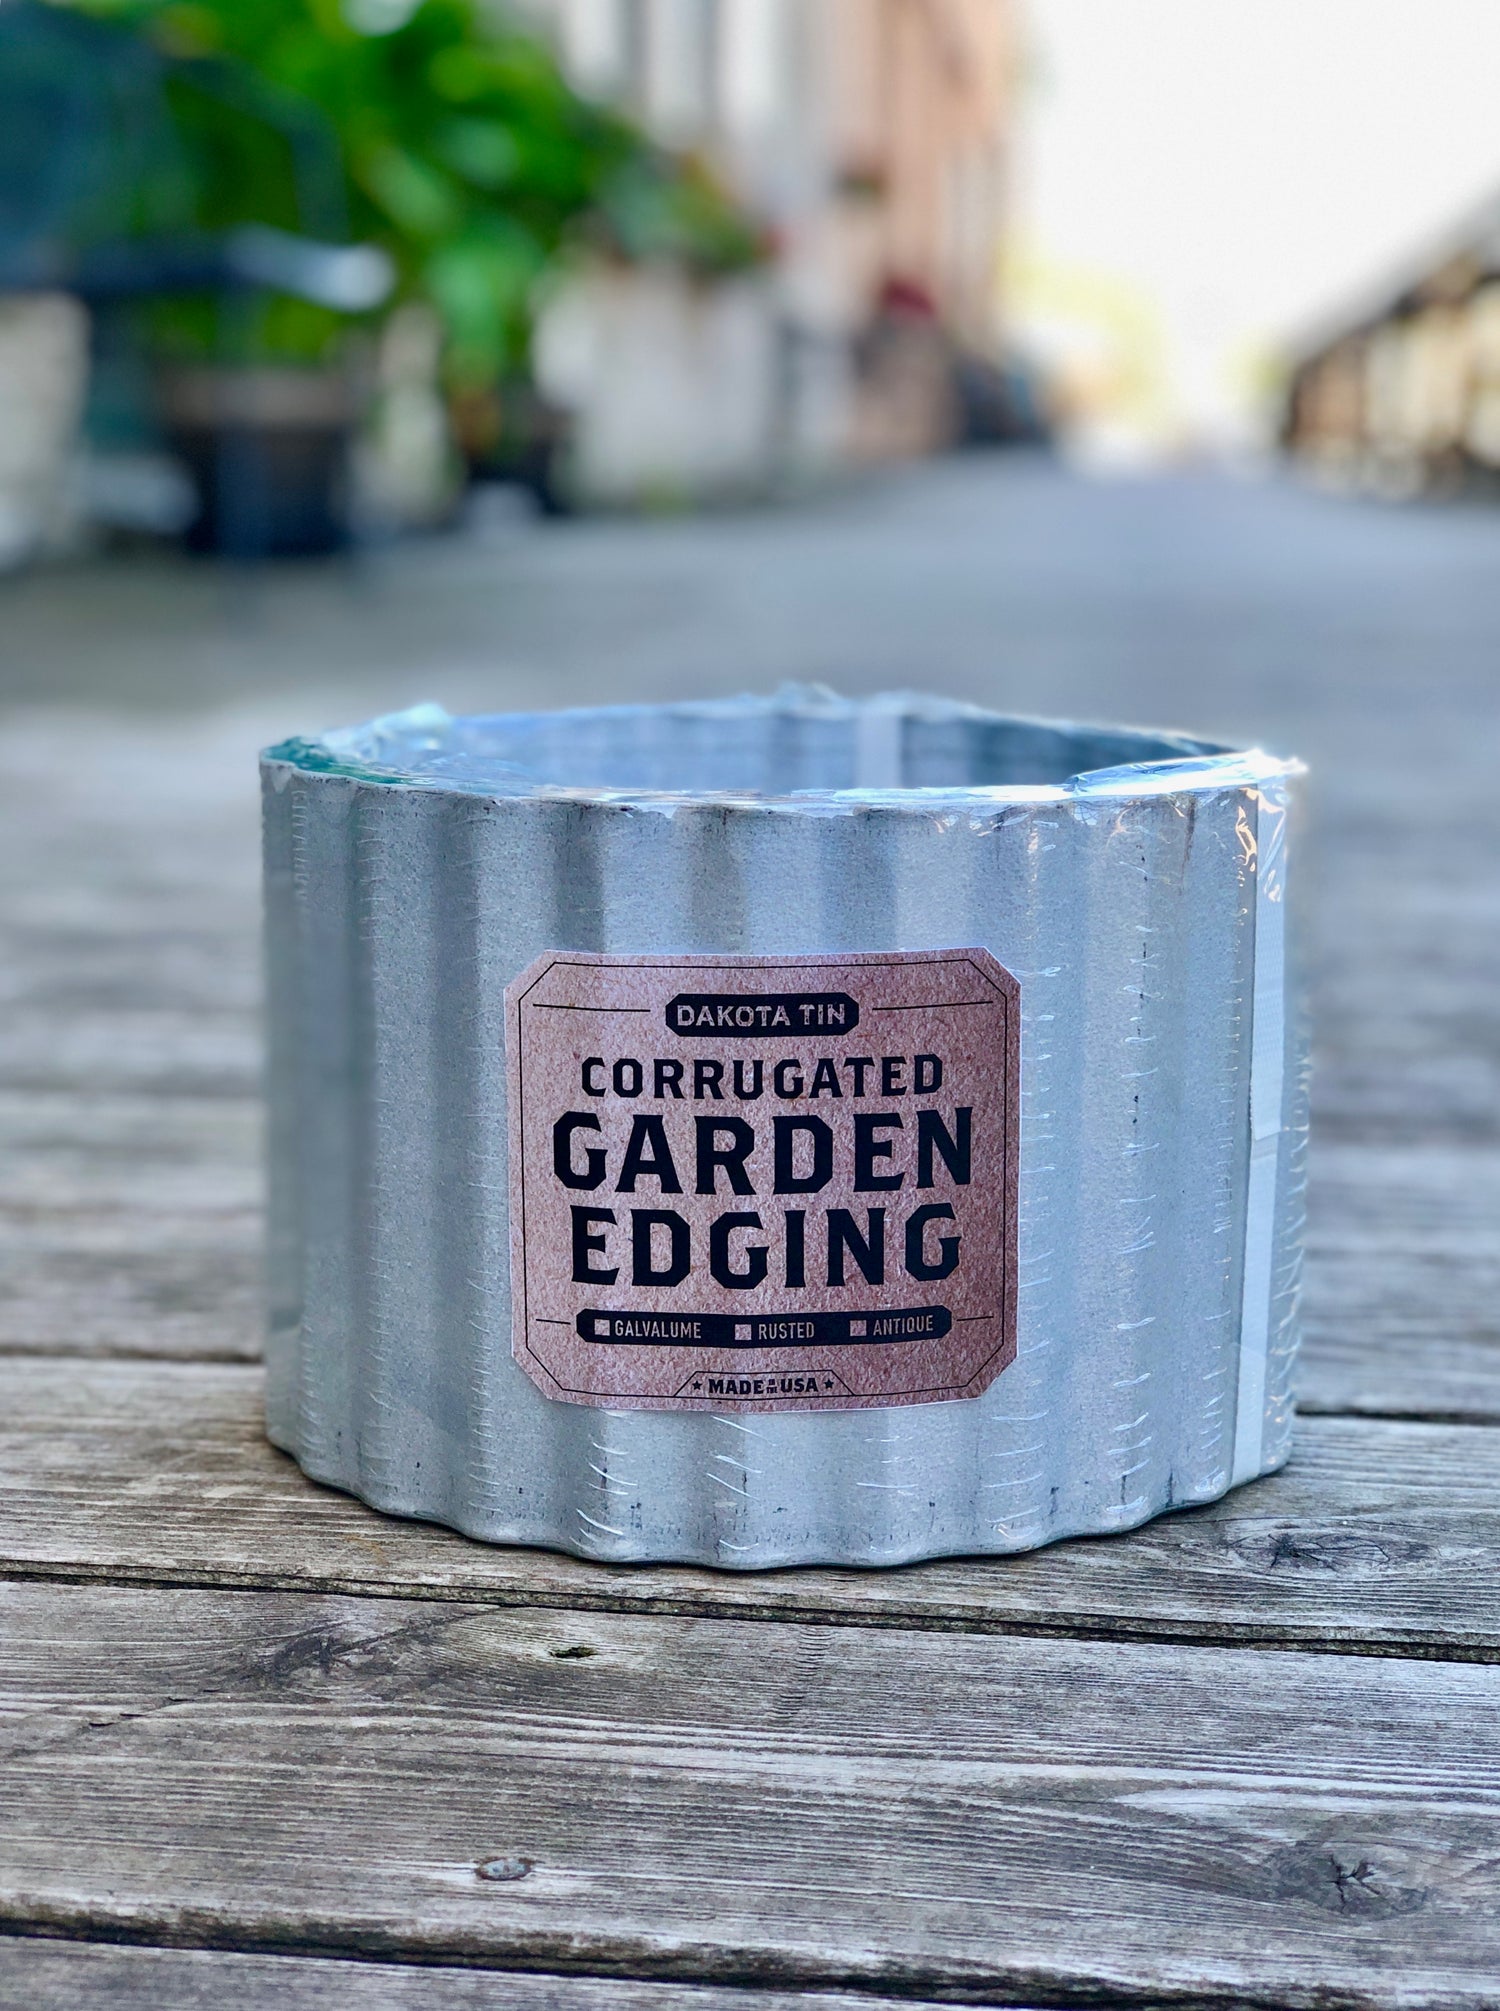
- Two pieces of Dakota Tin 12-inch tall metal edging, each measuring 32 inches in length. These will form the short sides of your garden bed.
- Two full rolls of Dakota Tin 12-inch tall metal edging, generally around 10 feet in length, will cover the longer sides of the bed, providing a durable barrier for your soil.
- Four pieces of 2”x4” lumber, each 45” long, alongside another four pieces, each 113 inches long. These lumber pieces will be the foundational structure of your garden bed frame.
- Six additional 2"x4" lumber pieces, measuring 5 ¼”each, will act as internal support for the frame, ensuring its integrity and durability.
- For the corners of your garden bed, you will need four pieces of 4”x4" lumber, each 12 1/4 inches, to provide robust stability.
- Two pieces of 1"x6" lumber, each 48 inches long, will be used for aesthetic and practical purposes along the top edge of the garden bed.
- A substantial quantity of 3"+ general-purpose screws will be needed to assemble the wooden frame securely.
- Lastly, 1" self-drilling roofing screws are essential for attaching the metal edging to the frame, ensuring that everything stays firmly in place.
Having all these materials on hand before you begin will streamline the building process, allowing you to focus on creating a sturdy and functional raised garden bed.
Preparing Your Workspace
A well-organized workspace is crucial before diving into your raised metal garden bed. First, pinpoint where you intend to place the garden bed. This area should be level and cleared of any weeds, stones, or debris to ensure a stable foundation for your project. After deciding on the location, it’s time to organize your materials and tools in a manner that makes them easily accessible and minimizes the need to move back and forth.
Lay out the Dakota Tin metal edging, lumber, screws, and any other materials you’ve gathered for this project in a designated area. Separate these items based on their function or in the order they will be used during the assembly process. This preemptive organization can save time and reduce confusion during the construction phase.
Ensure that the tools necessary for the job, such as a drill, screwdriver, tape measure, and safety gear, are within arm’s reach. Protective gloves and eyewear are advisable when handling metal edging and power tools to prevent injuries.
Lastly, double-check the workspace for adequate lighting and ventilation. Proper lighting will help you see your work, avoiding mistakes and potential mishaps - while good ventilation is essential when dealing with any dust or fumes that might arise during the cutting or drilling processes.
Assembling the Frame
The initial step in constructing your raised metal garden bed is to build its structural frame. This process involves the 2"x4" lumber pieces to create the base. Begin by laying out the four 45-inch 2"x4" lumber pieces and the four 113-inch 2”x4" pieces on your prepared workspace. These will form the rectangular base of your garden bed.
To assemble the frame, position each of the 45-inch pieces at the ends of the 113-inch pieces, aligning them to form the four corners of the rectangle. Ensure that all corners are squared and the entire frame is level. This accuracy will be pivotal in maintaining structural integrity and aesthetic appeal.
Using the 3"+ general-purpose screws, securely fasten the corners together. A power drill will ensure a tight, stable fit. For added support and to prevent the frame from bowing under the weight of the soil, evenly space the six 5 1/4-inch 2"x4" lumber pieces along the length of the longer sides, attaching them inside the frame. These internal supports should be placed at equal intervals, creating pockets of strength throughout the frame.
Following the addition of the internal supports, anchor the 12 1/4-inch 4”x4" lumber pieces at each corner. These shorter, thicker pieces of wood will serve as the legs of the garden bed, elevating it off the ground and providing substantial stability. Secure these to the inside corners of the frame using additional 3"+ general purpose screws. This step reinforces the garden bed and ensures it can withstand the elements and the weight of soil and plants.
Through these steps, the frame of your raised metal garden bed will take shape, forming a sturdy foundation. This solid base is crucial for the overall success and longevity of your garden bed, readying it for the attachment of the metal edging and the eventual addition of soil and plants.
Securing the Structure
With the wooden frame of your raised garden bed fully assembled and the internal supports in place, the next critical step involves attaching the Dakota Tin metal edging to fortify and define the structure. This stage is essential for transforming your frame into a cohesive and resilient raised bed ready for planting.
Begin this process by aligning the Dakota Tin 12-inch tall metal edging along the exterior sides of the wooden frame. The metal edging serves as a barrier to keep soil contained but also adds an aesthetic appeal with its durable, rustic look. It's important to ensure that the metal edges align neatly and securely against the wood to prevent gaps or loose sections.
Utilizing 1" Self-drilling roofing screws, attach the metal edging to the frame at regular intervals to guarantee a firm hold. Start at one corner and work your way around the frame, driving screws through the metal and into the wood beneath. These specific screws are designed to pierce the metal without the need for pre-drilled holes, simplifying the process and creating a tight seal between the metal and the wood. Space the screws approximately 6 inches apart to ensure an even and secure attachment all around.
As you proceed, check the alignment of the metal edging, adjusting as needed to maintain a straight and uniform appearance. This attention to detail will enhance the structural integrity of your garden bed but also its overall aesthetic quality.
Once all the metal edging is securely fastened to the wooden frame, you'll have a solid, encapsulated structure that distinctly marks the perimeter of your raised garden bed. This securement phase is pivotal in ensuring that your garden bed will withstand the test of time and the elements, providing a dependable space for your plants to flourish.
Final Touches and Filling
The construction of your raised metal garden bed is nearly complete, with just a few final steps remaining to ensure it's ready for planting. The first task is to enhance the bed's usability and appearance by attaching the 48-inch 1"x6" lumber pieces along the top edge. This adds a refined finish and provides a comfortable ledge for sitting or kneeling while tending to your garden, making the gardening experience more enjoyable and accessible.
To attach these lumber pieces, position them flush with the top edge of the metal and secure them using the 3"+ general-purpose screws. This will create a smooth, cohesive border that complements the rustic aesthetic of the Dakota Tin while offering practical benefits.
After installing these top boards, your garden bed is ready for soil. Add a layer of landscape fabric, to help with weed suppression. Then, fill the bed with a rich mix of soil and compost, ensuring it's well-blended to support healthy plant growth. This step is crucial as it sets the foundation for your plants, providing them with the nutrients they need to thrive. Consider the specific needs of the plants you wish to grow when choosing your soil mixture, as some may require more drainage or organic matter.
With the soil in place, your raised metal garden bed is now fully assembled and ready for planting. Whether growing vegetables, herbs, or flowers, this bed offers a durable and stylish solution for your gardening needs.